


Check out this cute side table made from a vintage fruit box! Isn’t it cute?

I’m in love with it and we made it for about $30 — WAY less than the commercially produced side tables we were looking at online.
How? Super simple.
This post contains affiliate links.
Crate
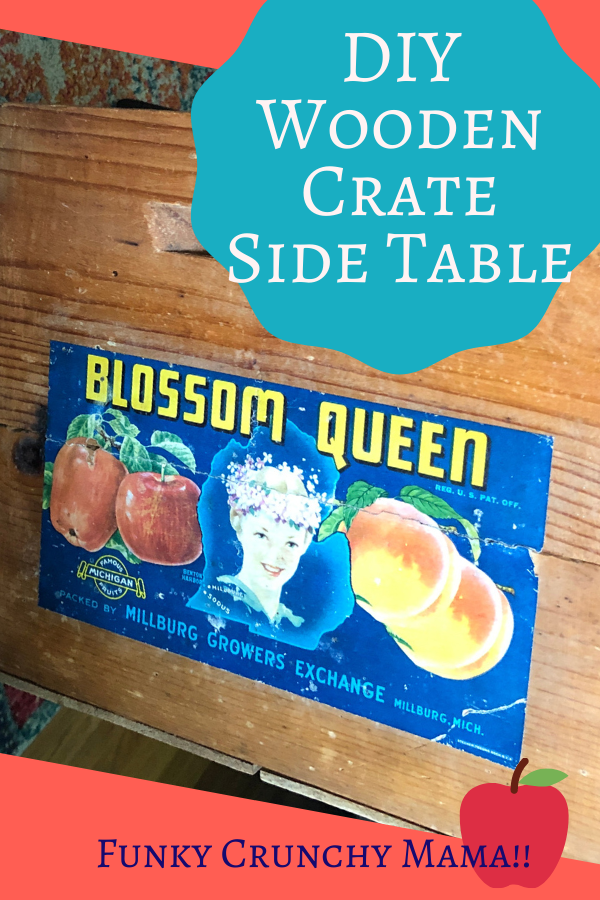
First we hit up our local antique stores for a wooden crate. There were several in the $30-$50 range, but we found this one for only $9 — SCORE! The label is in great shape and the crate is structurally sound.
If you can’t find what you’re looking for in your price range, you can make your own! There are tons of vintage-style fruit crate labels available on Etsy (just attach it with some Mod-Podge). Etsy also has wooden crates in a variety of styles, or else they’re readily available at hardware and craft stores.
Don’t care about the label? Skip it all together and paint a crate an amazing accent color!
After we got it home, we lightly sanded the sides and corners to remove the rough edges. Then we sprayed it with a clear, satin-finish enamel. We did this mainly to offer some protection to the label in the inevitable event of spills, but it also added a bit of a finished look to the otherwise unfinished wood.
Legs
The other side tables in our living space have hairpin legs (they’re the commercially produced kind of tables), so we wanted to stick with the same style which led us to Etsy.
We figured out how tall we wanted our table to be and ordered these legs made from rebar (sweet, right?). We really love how the rebar adds to the one-of-a-kind-ness of the piece.
If hairpin legs aren’t your thing, there are lots of options out there. Check your local hardware store, online, vintage/thrift shops, or you could even upcycle some from an old piece of furniture!
However….
Please note how you attach the legs before investing.
Notice in the image below how we only used two of the three screw holes? (They’re black screws, so they’re kind of hard to see.) That’s because the front and back of the crate were too thin for screws and we were only able to drill them into the sides.

This isn’t a problem if you’re willing and able to create extra thickness along the bottom, but how to attach the legs should be noted when you’re considering them.
After you’ve attached the legs, you should have yourself an adorable, vintage-style table.
We opted to put this cute, colorful radio on ours. We’ll probably include some books down the road, but for now? Kids….

Optional shelf
Depending on your needs and the size of your crate, you may want to include a shelf into your project.
My best recommendation would be to screw a shelf in directly, but you could also rest a board on top of a couple of flat-ended screws, or you could glue a couple of small, square dowels in place with some wood glue and rest a board on those. The old me that was averse to using power tools would probably have opted for the latter, however, over the last few years I’ve come around to the wonder of levels and drills. 🙂
Now have fun filling your cute new space! I’d love to hear how you plan to decorate it! Tell me in the comments below!
— Melissa, Funky Crunchy Mama