


Raise your hand if you’re a guilty hoarder of fabric remnants.
I am!
And one of the most usefully useless things I’ve acquired over the years are remnants from cutoff pants.
Denim’s such a wonderfully hearty fabric, I just hate to throw it out! Not to mention that someday I hope to make a braided rug out of denim. And so, any such scraps sit in my bin waiting to meet their fate.
This post contains affiliate links.
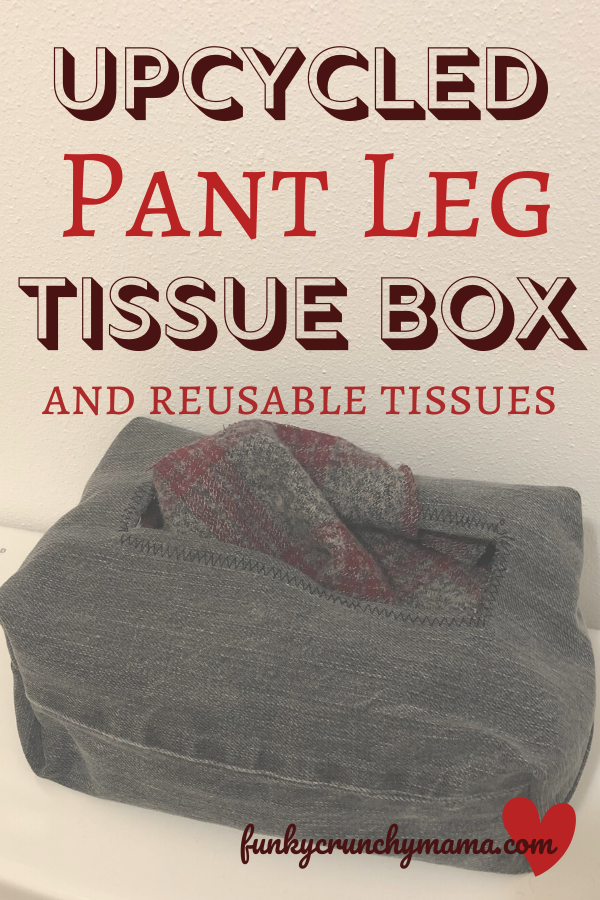
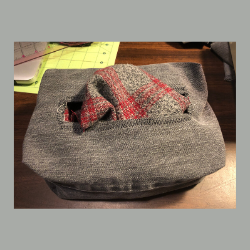
These hearty sleeves of fabric can make a simple tall basket with a few quick stitches (or hang it with a grommet), but a couple extra cuts can also make a quick upcycled tissue box for reusable tissues, as well.
Not Your Grandma’s Tissue Box Cover
Unlike those tissue box covers that are supposed to help tie a room together, these fabric tissue boxes are actually functional. Reusable tissues are great, but you need somewhere to store them, preferably somewhere that doesn’t require that they be folded. I love this project because you can literally just shove them back in the top after they’ve gone through the wash — no folding necessary.
So here are the steps, short and sweet!
Step 1
You can do this first step one of three ways:
- without sewing (frayed edges),
- with partially finished edges, or
- with finished edges.
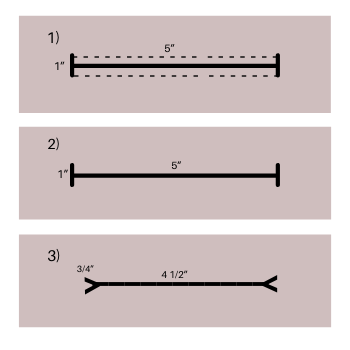
- Without sewing/frayed edges:
Find the center of your fabric scrap and mark a 5” line. At each end of the line, mark ½” up & down from each side. Cut out the rectangle. If you’d like to fray the edges, run through the wash.
2. Partially finished edges:
Find the center of your fabric scrap and mark a 5” line. At each end of the line, mark ½” up and down from each side. Cut along each line. Tuck and pin the ½” of fabric along the 5” line. Stitch around the rectangle with your preferred stitch.*
3. Find the center of your fabric scrap and mark a 4 1/2” line. At each end of the line, mark 3/4″ line angled up and down from each side. Tuck, pin, and stitch.*

*To stitch, pull the extension table off the machine, thread the leg under the needle, and stitch half at a time.
Step 2
With the center stitched, turn the sleeve inside out. On one side only, stitch the sleeve shut, approximately 3 ½” away from the hole. Cut off excess.
At the end of the stitched line, create a triangle (two 90 degree angles on the stitched line).

Step 3
Turn sleeve right side out. Pull unstitched side through center hole and complete step 2 on the other side.
When complete, push back through the center and stuff your new box with some of these no sew flannel tissues!
Know someone trying to go green or just to cut some costs? A yard of inexpensive flannel (or an old shirt) and a pair of cutoff pant legs can suffice for years — maybe even decades. And this project can literally cost less than a box of quality disposable tissues. Consider making them some!
Do you keep old scraps from clothes? How do you upcycle them? Please share in the comments below!
—Funky Crunchy Mama
| |
|---|---|
| |