
KA-POW!
SMASH!
BAM!
Who doesn’t love pretending to be a super hero?
I do! And my toddler loves it, too.
One of my favorite things about having littles is that I can make things for them: Halloween costumes, mittens, booties, robes, leg warmers, or just take their old clothes and turn them into cute home decor.
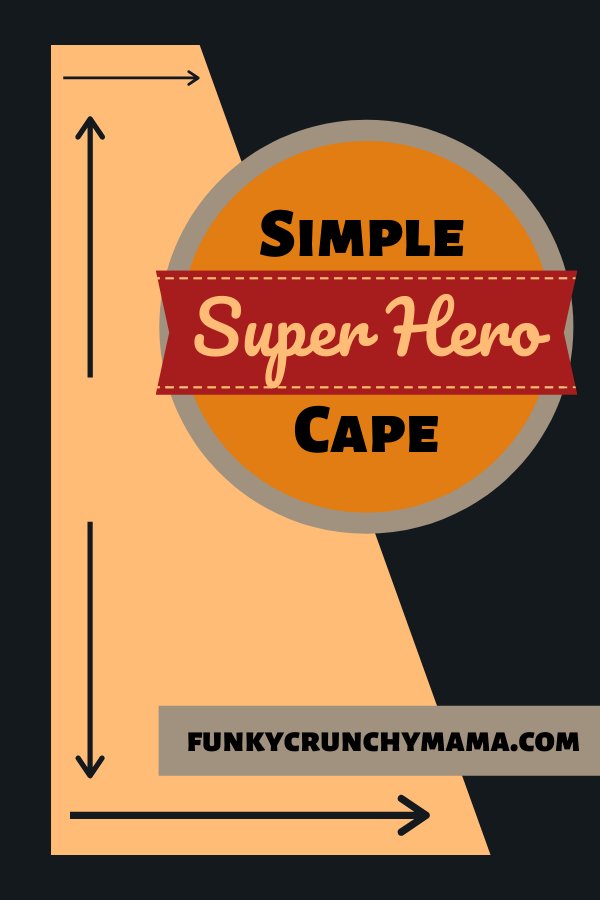
And the great part is that their imagination only further inspires me to use mine. That’s why making this cape was a must. It was a super fun, quick, and easy project. I easily could have picked up a cape from the dollar store, but where’s the imagination and whimsy in that?!
This post contains affiliate links.
Fabric
I’ve been trying really hard to avoid the fabric store the past couple of years (I know how quickly I can accumulate unfinished projects), so I worked within my current stash. Fortunately, I had a couple of cute, whimsical quilting fabrics that were just right for these capes.
I’ve found that as long as there’s something in common between two fabrics, they’ll likely work together splendidly.
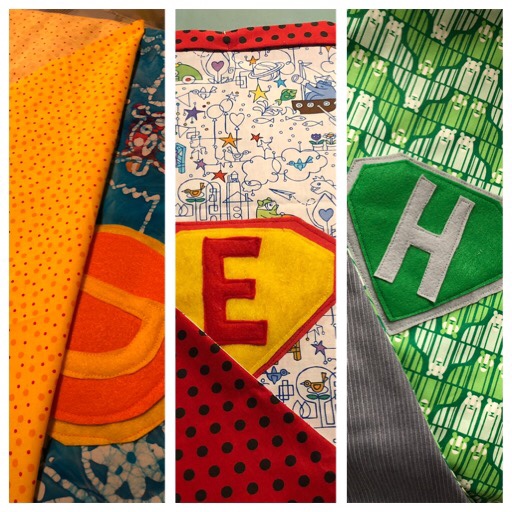
In the one on the left, there are number of bright colors amongst the tie-dye; there’s also polkadots in the pattern.
In the middle one, I think that the red worked well due to the singular bright color in contrast to the white, while picking up the bright colors in the pattern
In the one on the right, the two worked together well due to the vertical stripes.
(Of course, solid colors are always safe and work well, too.)
If you want to upcycle an old shirt, I think most larger sizes will give you enough fabric. I seriously considered upcycling one of my husbands old work shirts.
| |
|---|---|
| |
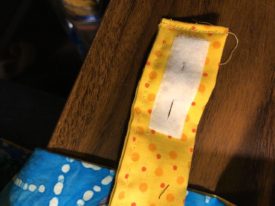
Insignia
This is completely optional, but really helps to personalize the cape if it’s going to someone special. Consider making one in a diamond shape, heart, circle, or lightning bolt. Feeling fancy? Try your hand at drawing up a unicorn or T-Rex! It only takes a little felt, so get experimental!
I found that about 7″ was a good size with 3 1/2″ letters.
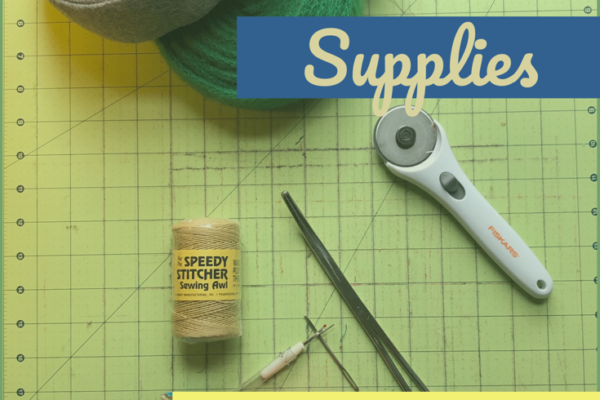
Supplies
My daughter is 40+ inches tall, and this falls about mid-calf on her. Adjust fabric requirements, as desired.
You’ll need:
1 yard primary fabric
1 yard complementary fabric
23” x 1 ½” felt or stabilizer
2 felt squares in coordinating colors for insignia (optional)
Matching thread
1” Velcro
Cape
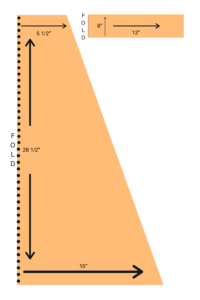
Make a template and line it up at the folded edge. Pin and cut a cape shape out of both your primary and complementary fabrics. Unfold and iron out crease.
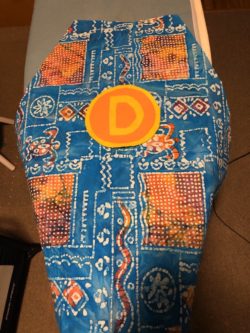
If you made an insignia, attach it to the primary fabric.
With right sides together, pin and stitch around the sides and bottom of the cape. Flip right side out and iron.
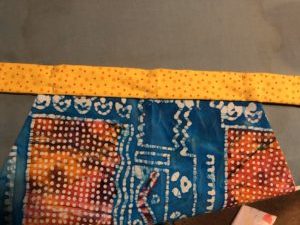
Collar
Cut a 6” x 23” strip from the complementary fabric. If using stabilizer, iron on. Iron into a bias tape. If using felt or other sturdy fabric, tuck into one side.
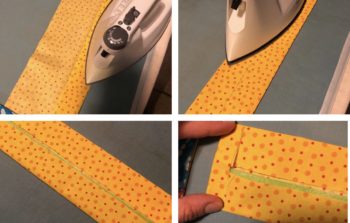
Tuck the edges in and stitch.
Fold collar bias tape over top of cape. Pin and stitch along the length of the collar.
Cut a 2” piece of Velcro. Pin and stitch to the collar.
Voila!
Give the cape to your little superhero and watch their eyes light up!

Looking for a complimentary gift? Try a trampoline to exhaust — I mean, exercise — those superhero powers! 😉
| |
|---|---|
| |
Let me know how it goes!
— Funky Crunchy Mama


One thought on “Ka-POW! It’s the Cutest Kid Superhero Cape EVER!”